Oven Safety for Low Vision: My Go-To Tips for Safer Cooking
When you’re visually impaired, the oven can feel like the scariest part of the kitchen. The fear of burns or spills is real—and for good reason. I’ve learned over time that a few simple habits and the right tools can turn the oven from a hazard into something you can use with confidence.
🧭 Set Up Before You Turn It On
Adjust the racks while the oven is cold.
This is my first rule every single time. Moving racks when they’re cool eliminates one of the biggest risks of burns. I always check the rack height and adjust it before I even touch the temperature dial.
Create a spill-safe zone.
I use silicone oven liners to catch any drips or spills. It saves cleanup and keeps me from reaching into the oven to scrub a mess later. These liners go on the bottom rack and come out to be washed in your sink. (DO NOT put it on The bottom of the oven)/ When the oven is completely cold, pull it out, wash it and return it ready for the next project.
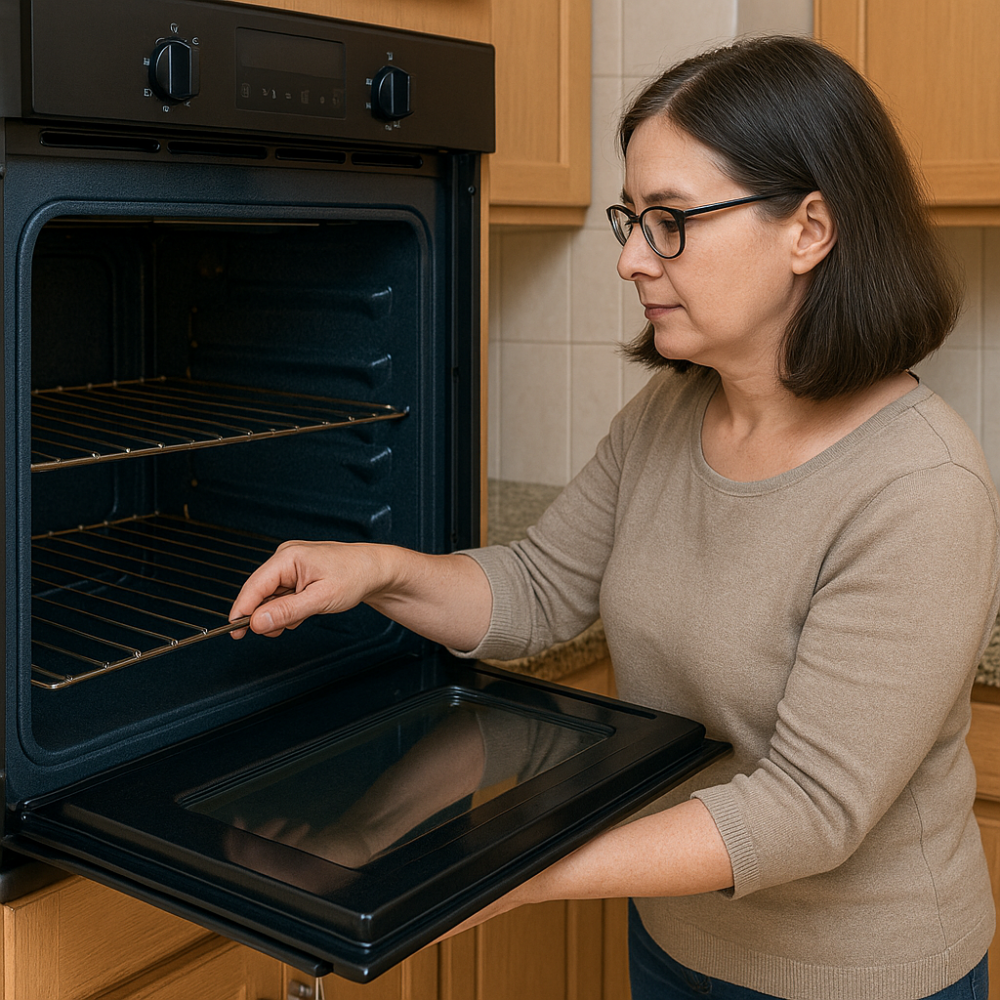 Adjusting oven racks while the oven is cold helps prevent burns and ensures safe cooking.
✋ Hands-On Safety
Use a “test hand” method.
Before I reach into the oven, I hold my hand a few inches away from the opening to feel the heat and orient myself. This helps me know where the rack is before I reach in with food. This has become really imortant to me since I have purchased a new oven, and it seems to hold the heat much beter than the old one. If I am using a high temperature, it can really send out a blast of heat when first opened.
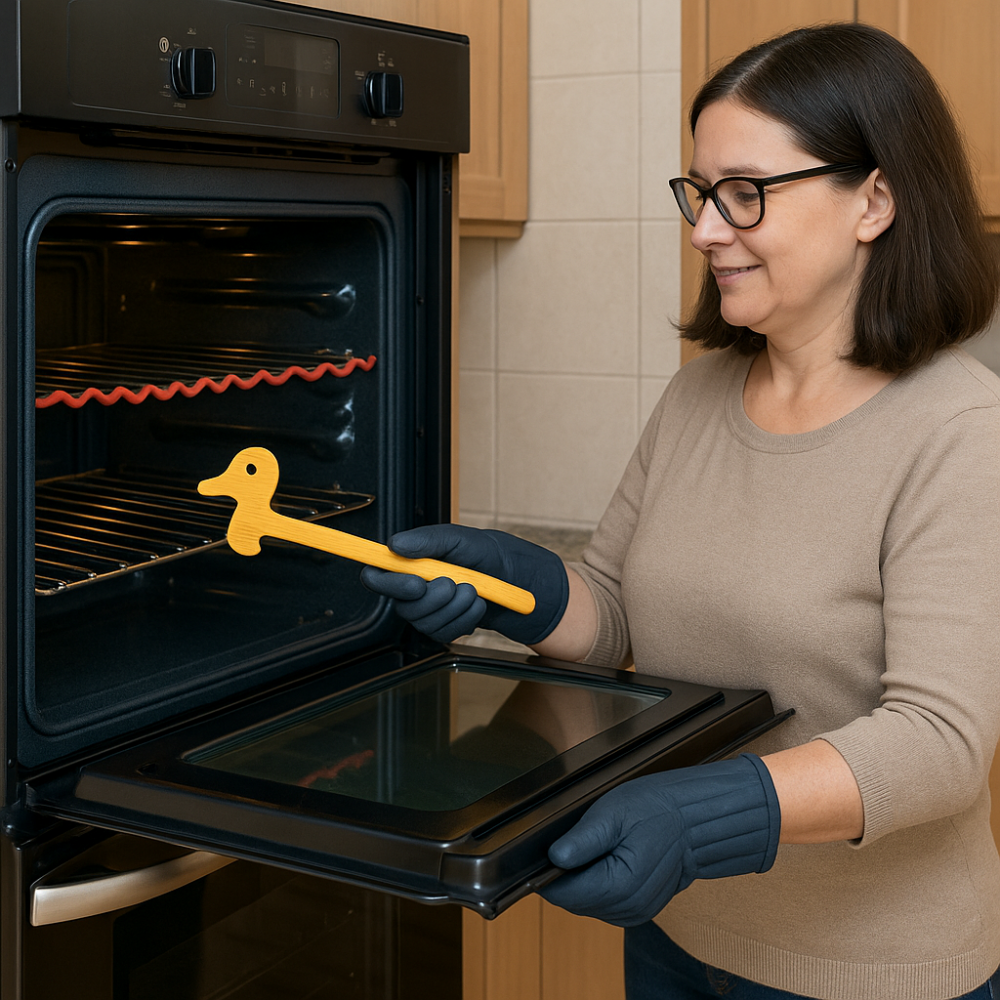
Slide racks, don’t reach.
Instead of leaning into the oven, I pull the rack halfway out (using a wooden rack push/pull tool ). This keeps my hands far away from hot surfaces. I have a plain one, but I have recently discovered they made them in cute shapes like the duck push-pull device. And, so of course, I have to have one.
 Adjusting oven racks while the oven is cold helps prevent burns and ensures safe cooking.
Gloves, not mitts.
I prefer heat-resistant silicone gloves over floppy potholders—they give me a better grip and reduce the chance of dropping something hot. The Ove Glove is not silicone but it has rugger grippers to help prevent slipping. I also use a pair of silicone mits that have little rubber suction cups. This not only prevents slipping, it prevents any hot liguid from reaching my hands.
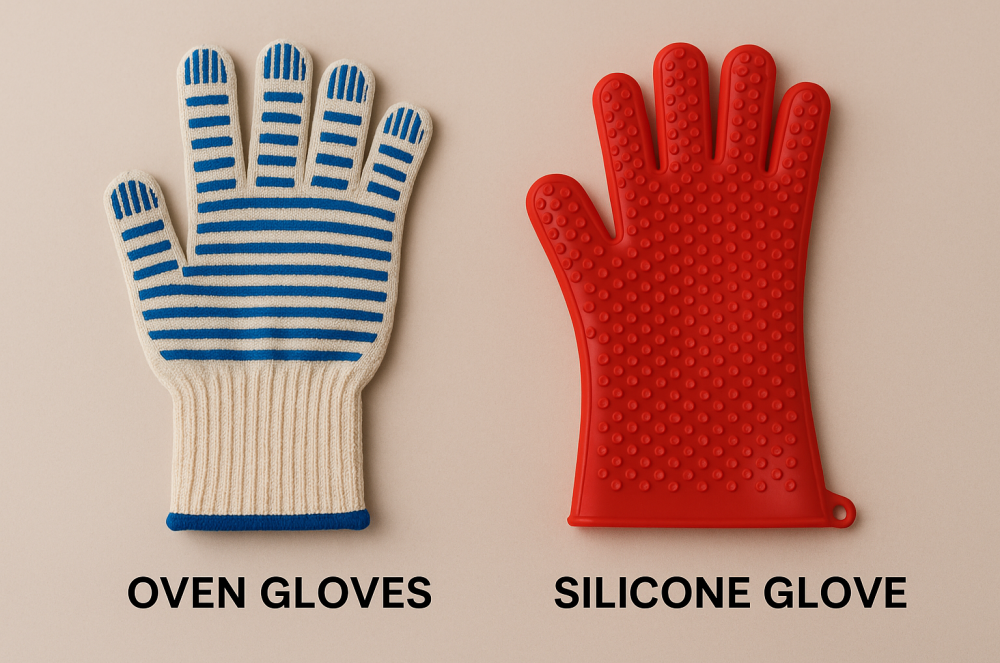 Comparing oven gloves with silicone grips to full silicone gloves for better control and heat protection.
🛡️ A Simple Tool That Prevents Oven Burns
One small gadget I’ve come to appreciate is the oven rack guard. If you’ve ever accidentally brushed your hand against the front edge of a hot oven rack, you know how fast a burn can happen. The rack guard is a simple silicone strip that clips onto the front edge of the rack and creates a soft barrier between your skin and the hot metal.
For someone with low vision, this makes a surprising difference. When you’re sliding dishes in or out, your hands sometimes get closer to the rack than you realize. The guard doesn’t eliminate heat, but it gives you an extra layer of protection if your hand bumps the rack for a second.
What I like about them:
• They’re easy to install. Most versions simply clip onto the rack and stay in place.
• They create a visible and tactile edge. That little bit of contrast and texture helps me orient my hands.
• They prevent quick contact burns. Instead of touching hot metal directly, you touch the silicone guard first.
I still follow all the same safety habits—pulling the rack out partway, using gloves, and keeping my hands clear of the oven walls—but the rack guard adds one more level of protection.
For anyone adapting to cooking with low vision, it’s one of those small upgrades that can make the oven feel a lot less intimidating.
If you want to explore a few options, Amazon has several styles of silicone oven rack guards available here.
🔍 Checking Your Food
Use a talking thermometer.
When I need to check the temperature of meat or baked goods, a digital talking thermometer keeps me from guessing. It’s quick, accurate, and I don’t have to rely on my vision. The one I use is inexpensive and pretty accurate. You just insert it into the food and press a button, and it announces the temperature. There are more expensive ones, but this one works for me.
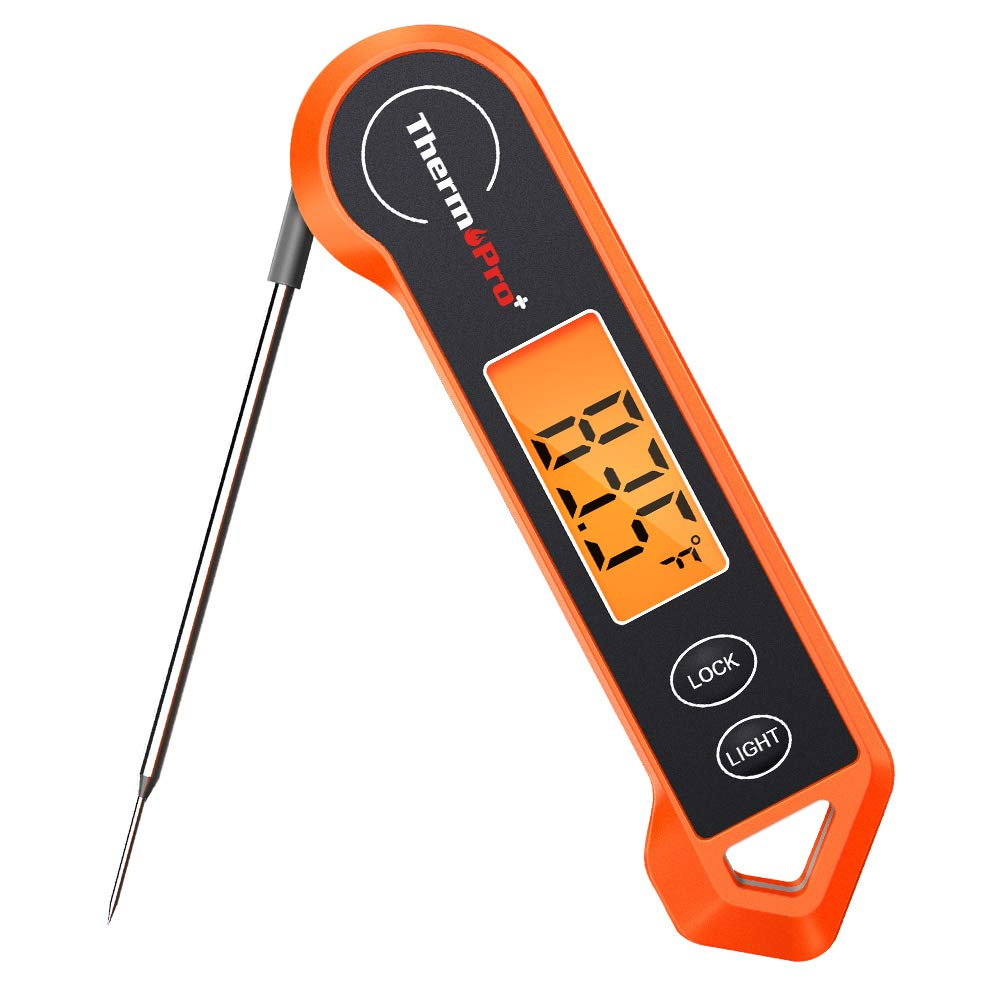
The ThermoPro digital thermometer offers quick, accurate readings with an easy-to-read backlit display.
Rely on timers, not just sight.
Even if you can see through the oven window, it’s easy to forget time. I used to use a talking kitchen timer, but I have come to rely on my oven timer and I use either my Alexa or my iphone as a backup. That way I can just ask how much time is left and not have to try to look at a timer. If you prefer t talking timer, thate are many different styles available and they generally are fairly inexpensive.
👩🍳 My Safety Routine Step by Step
I’ve found that having a consistent routine makes using the oven second nature. Here’s what I do every time I cook or bake:
- Start with a cool setup.
Before I touch the temperature controls, I make sure the rack is in the right position. This is easier and safer than adjusting it later. - Preheat and prepare.
While the oven is heating, I gather everything I need—gloves, tools, and my baking dish—so I’m not fumbling around once things get hot. - Load carefully.
I open the oven fully and pull the rack halfway out. With both hands on my dish, I set it down on the rack, slide it back in, and close the door. No reaching or awkward balancing. - Set timers (and backups).
I rely on timers rather than constant peeking. If I need to check, I pull the rack out instead of reaching into the heat. - Remove with both hands.
When the timer goes off, I put on my silicone gloves, slide the rack halfway out, and move the dish directly to a safe surface. I never try to “grab and pivot” in one motion—that’s an accident waiting to happen. - Cool down before cleanup.
I always let the oven cool completely before touching the racks or cleaning. It’s just not worth the risk.
This routine might sound simple, but it has saved me from more burns than I can count. Over time, it becomes automatic and makes using the oven much less intimidating.
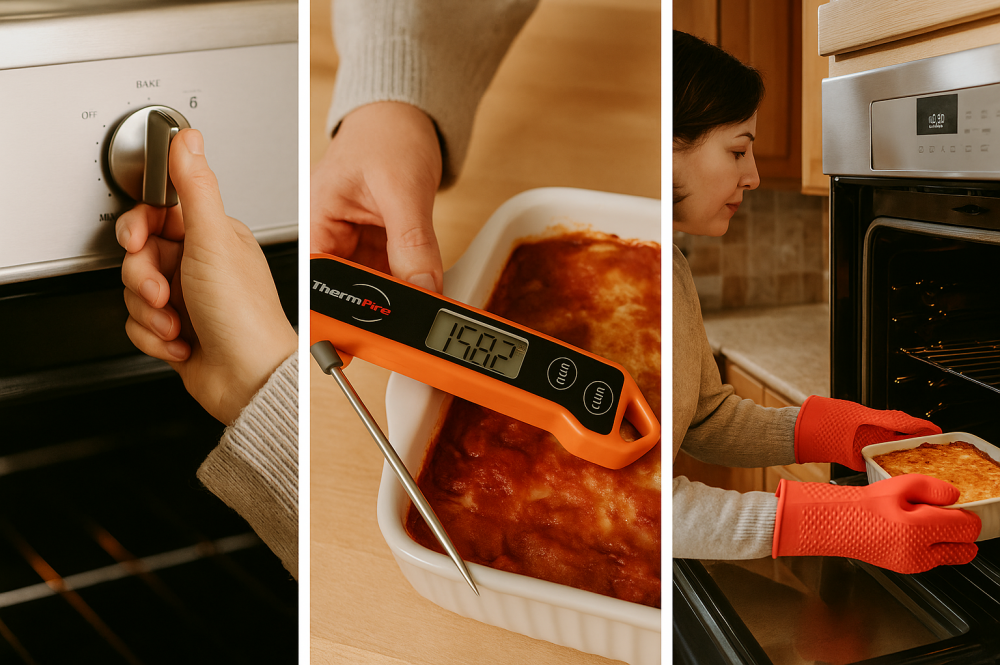 Step-by-step safety—preheating, checking temperature, and carefully removing food with heat-resistant gloves.
🧩 Handy Gadgets
A few small tools make a big difference:
- Silicone oven rack guards clip onto the front edge of racks to create a soft barrier against burns.
- Oven liners catch drips and make cleanup safer.
- Rack push/pull tools (even a wooden spoon can work in a pinch) keep your hands away from the heat.
- Clip-on pan handles can help when lifting heavier or awkward dishes.
🔑 Why These Tips Work
I’ve made every mistake possible—burned my hands, dropped pans, and even baked a pie directly onto the oven floor once (never again!). These tips work because they’re practical, simple, and don’t rely on fancy gadgets you’ll never use.
✏️A Few Words Before You Go
Oven safety isn’t about being fearless—it’s about being prepared. The more you build a routine and use tools like silicone gloves or rack guards, the less intimidating the oven becomes. If you have your own tricks or favorite gadgets, I’d love to hear them—share them in the comments or send me a note!