I’ll admit, when I first got my Instant Pot (also known as an electric pressure cooker), I wasn’t sure I’d ever use it. All those buttons and settings felt overwhelming—especially for someone like me, living with low vision. But over time, I figured out a system that works for me, and now it’s one of my favorite kitchen tools. If you’re visually impaired and hesitant to try an Instant Pot, I hope these tips make it feel a little less intimidating.
🔎 The Challenge: So Many Buttons!
At first glance, the Instant Pot’s control panel felt like an obstacle course. Tiny text, a digital screen with multiple functions, and more buttons than I thought I’d ever need—it just didn’t seem user-friendly. But here’s the truth: I don’t need all those buttons. Once I figured out which functions I actually use, I realized I could make it work for me.
 An Instant Pot with tactile markers can make cooking easier for visually impaired users—adapting everyday tools helps build confidence in the kitchen.
🛠️ My Solutions: How I Adapted My Instant Pot
Here’s the step-by-step system I developed to make the Instant Pot accessible:
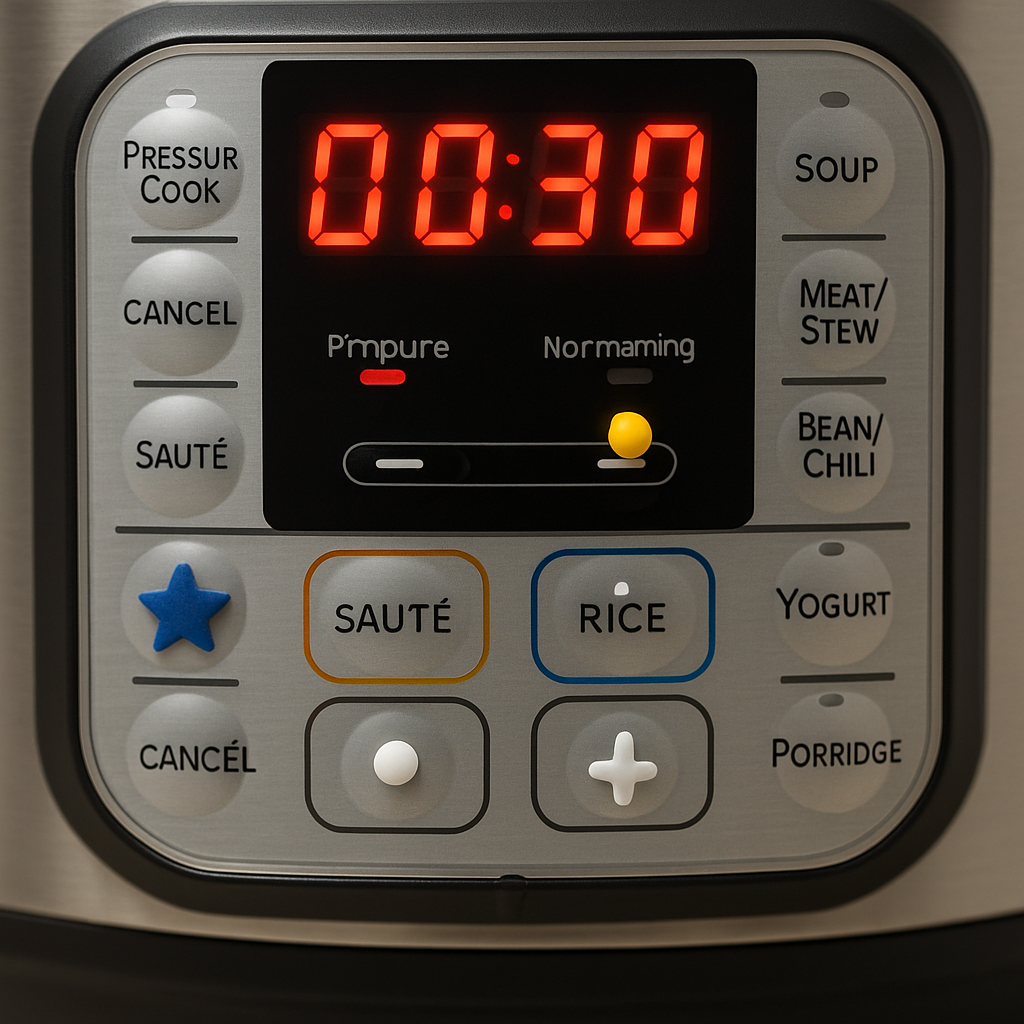
- Choose an Instant Pot with tactile buttons:
Some models have touch screens, while others have individual, raised buttons you can feel. I specifically chose one with physical buttons because it’s easier for me to navigate by touch. - Identify your go-to functions:
For me, it’s the basics—Power, Start, Cancel, Saute, Rice, and the +/- buttons to adjust time. I rarely stray from those. - Mark key buttons with tactile dots:
I used bump dots and shaped markers like small stars or triangles. This makes it easy to find the buttons I use most without straining to read the labels. For example: -
- A small dot on the Start button
- A triangle on Saute
- A star on Cancel
- Create a button map for reference:
I made a simple Excel spreadsheet that mirrors the layout of my Instant Pot’s control panel. Each cell represents a button, with the labels and tactile markings noted. -
- I keep a digital copy on my kitchen computer, so I can zoom in as needed.
- I also printed a large-font version and taped it inside my cupboard door for quick reference while cooking.
🍲 How I Use It Day-to-Day
Honestly, I stick to what works:
- I almost always use the Saute setting for browning meat or onions.
- The Rice button is perfect for (you guessed it) rice.
- For everything else, I set the cooking time manually, counting the beeps to select the minutes I need. It’s a little like setting a microwave—you get used to it quickly!
If I ever need a less familiar setting, I refer back to my button map, either on the computer or inside the cupboard.
 Adapting the Instant Pot with tactile markers makes it accessible and user-friendly for visually impaired home cooks.
💡 Final Thoughts: Don’t Let It Scare You
If you’re visually impaired and feeling unsure about using an Instant Pot, I completely understand. It’s easy to feel overwhelmed when a tool isn’t designed with accessibility in mind. But with a little creativity and a few tactile adaptations, it is possible to make it work for you. And once you get the hang of it, you might just find yourself using it all the time like I do—whether it’s for a quick pot of rice, a comforting stew, or a simple saute.
📌 Quick Tips for Instant Pot Success with Low Vision
- Choose a model with tactile buttons (avoid touchscreen models)
- Mark key buttons with bump dots or tactile shapes
- Create a button map for easy reference
- Stick to a few basic functions—you don’t need them all!
- Keep a printed guide inside your cupboard door
- Don’t be afraid to experiment—practice makes it feel less intimidating